If you’re experiencing issues with your car’s cooling system, one possible culprit could be a faulty water pump. Learning how to replace a water pump on a car is a valuable skill for any car owner or DIY enthusiast. This comprehensive guide will walk you through the process, ensuring you can tackle the job with confidence.
Table of Contents
What You’ll Need to Replace a Water Pump on a Car
Before you start, gather the necessary tools and materials to replace the water pump on your car. You’ll need:
- A new water pump
- Wrenches and sockets
- Coolant
- Gasket or sealant
- Screwdrivers
- Drain pan for coolant
Ensure you have all the equipment before attempting to replace the water pump on your car. This will save you time and hassle during the repair.
How to Replace a Water Pump on a Car: Preparation
Step 1: Disconnect the Battery
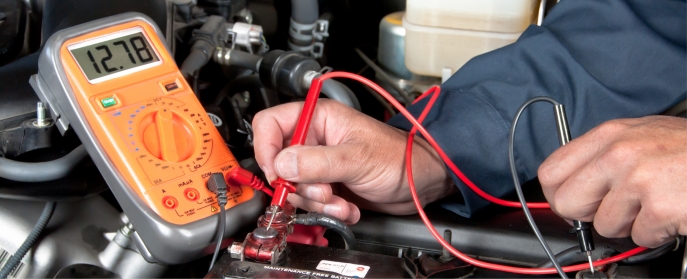
The first step in how to replace a water pump on a car is to disconnect the battery. This is a safety measure to prevent any electrical issues while working under the hood. Make sure the ignition is off and the keys are removed.
Step 2: Drain the Coolant
Next, you’ll need to drain the coolant from the radiator. Place a drain pan underneath the radiator and remove the radiator cap. This will allow the coolant to drain completely, making it safe to remove the water pump.
Step 3: Remove the Serpentine Belt
To access the water pump, you’ll need to remove the serpentine belt. Use a wrench to loosen the tensioner pulley, then slide the belt off the pulleys. Be sure to note how the belt is routed so you can reinstall it correctly later.
How to Replace a Water Pump on a Car: Removing the Old Pump
Step 4: Locate the Water Pump
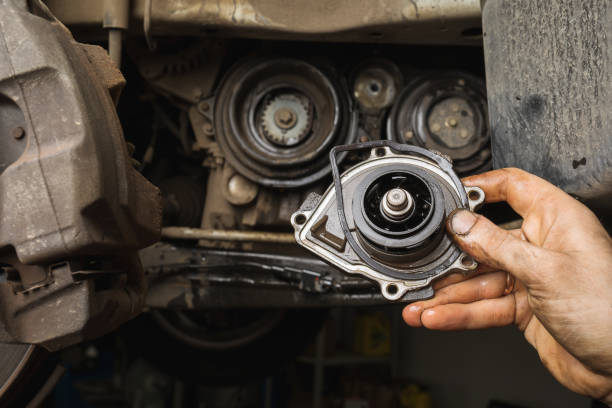
The water pump is typically located on the front or side of the engine, driven by the serpentine belt. Once you’ve removed the belt, you’ll have better access to the pump.
Step 5: Remove Bolts and Attachments
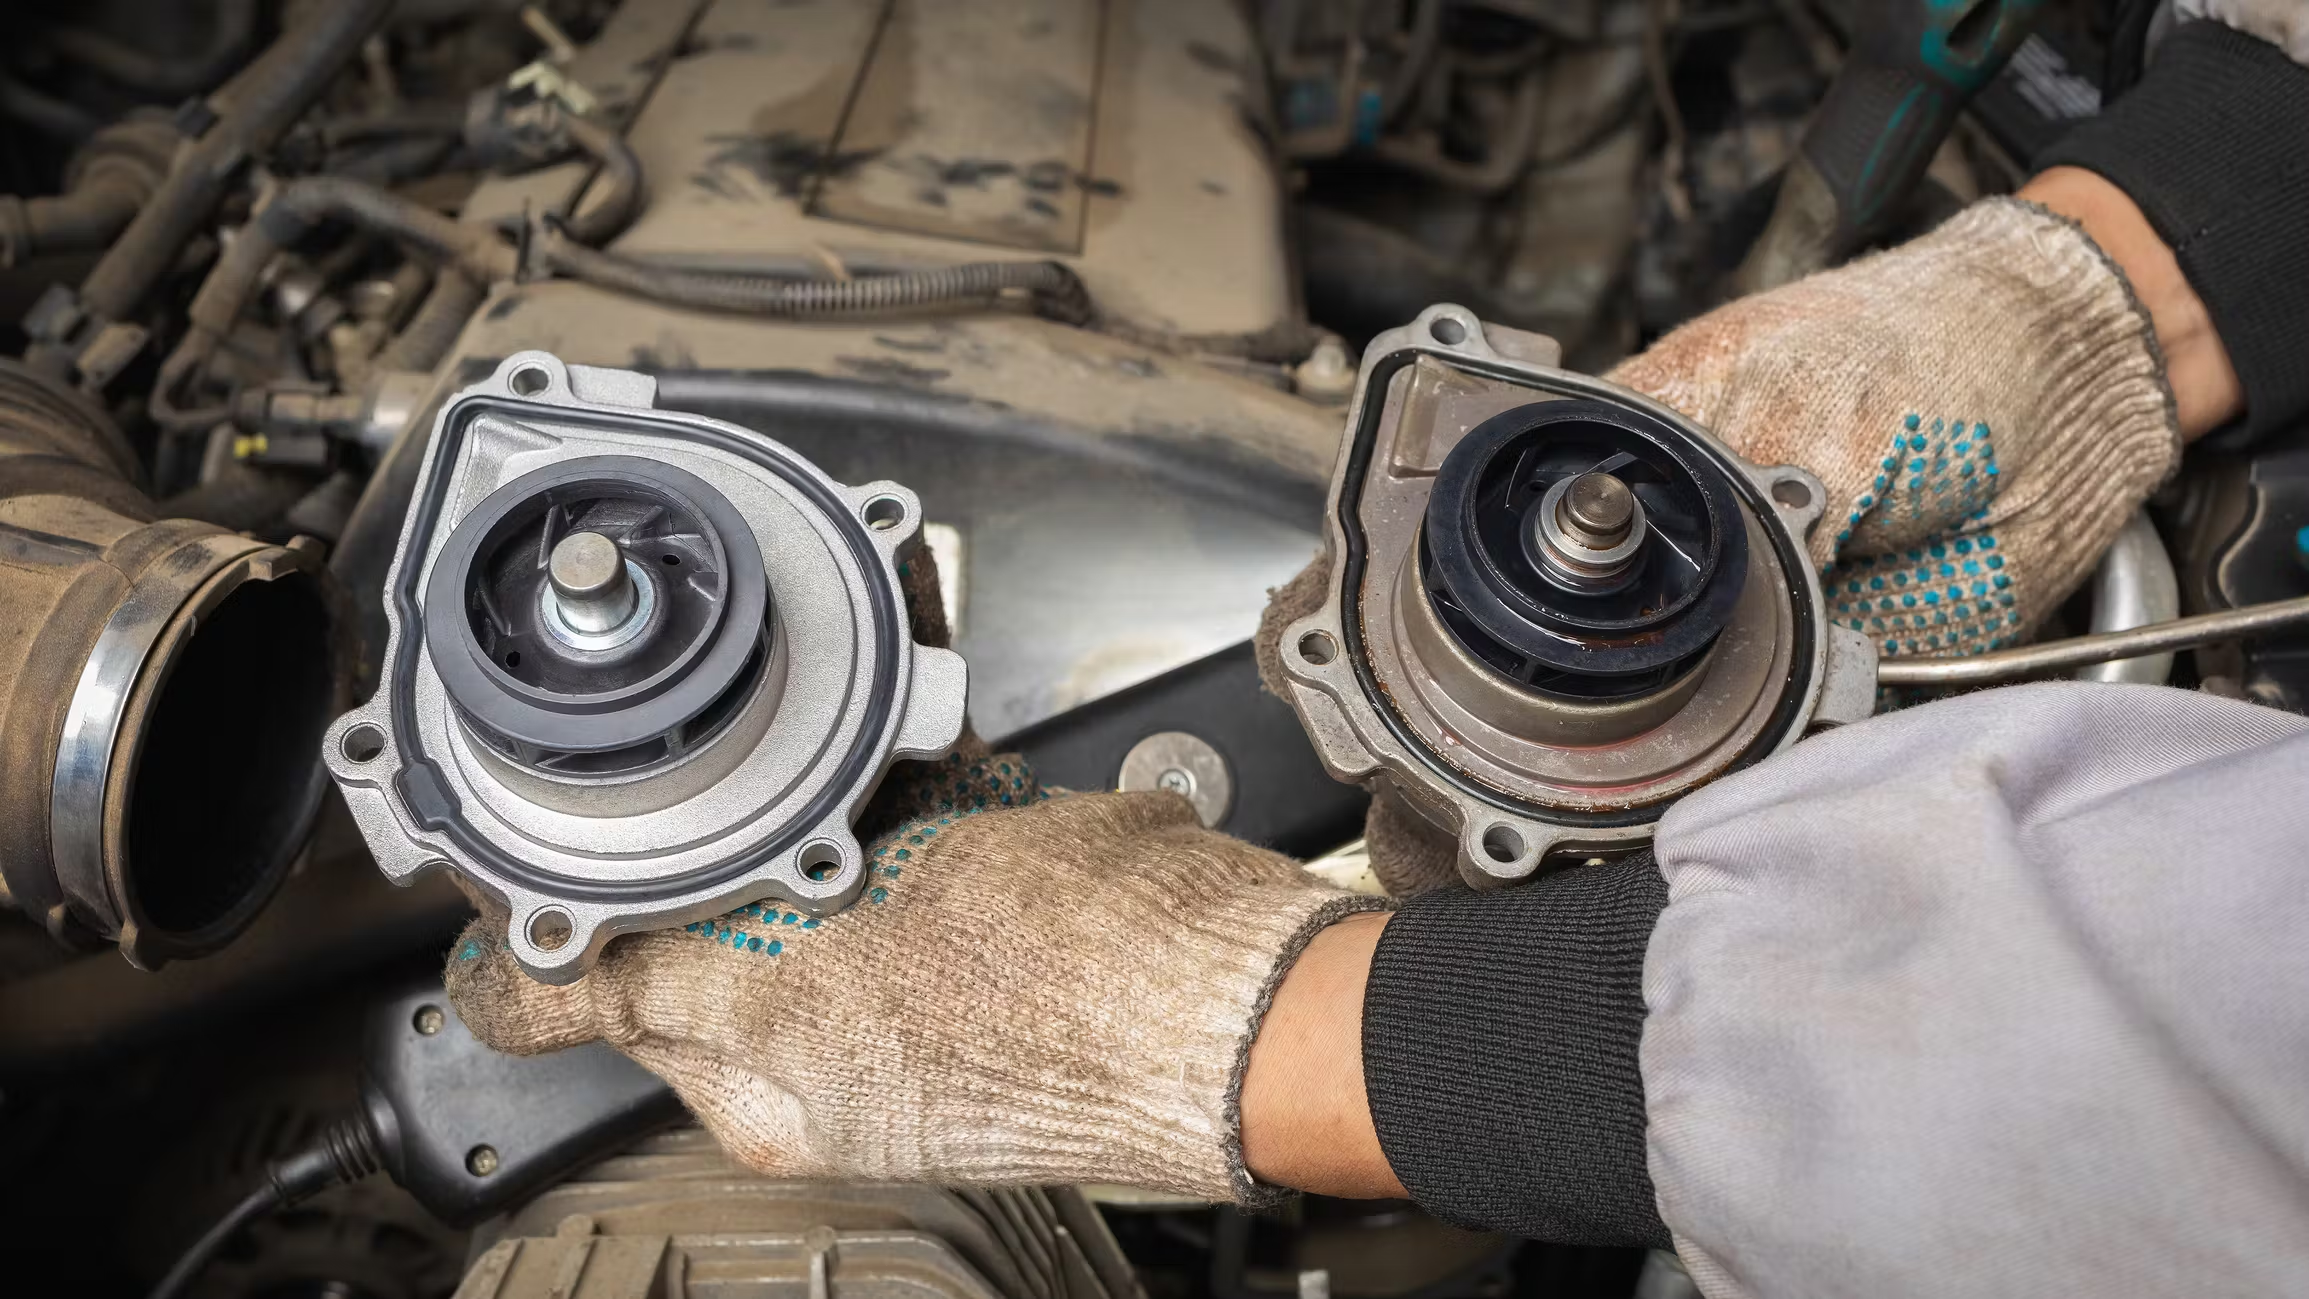
To remove the old water pump, use your wrenches and sockets to remove the bolts securing it in place. Carefully disconnect any hoses or attachments connected to the pump. As you remove the water pump, keep track of any gaskets or seals, as you will need to replace them with the new pump.
How to Replace a Water Pump on a Car: Installing the New Pump
Step 6: Clean the Mounting Surface
Before installing the new water pump, it’s essential to clean the mounting surface on the engine block. This ensures that the new pump will be sealed correctly and avoid any leaks. Use a clean rag or scraper to remove old gasket material.
Step 7: Attach the New Water Pump
Now, you can install the new water pump. Position it carefully and align the bolt holes. Secure the water pump by tightening the bolts. Be sure not to overtighten them, as this could damage the pump or the engine block.
Step 8: Reattach the Hoses and Gaskets
After the pump is in place, reattach any hoses or components that were disconnected earlier. Be sure to replace any gaskets or seals with new ones to prevent leaks. You’re now ready to move on to the final steps.
How to Replace a Water Pump on a Car: Reassembling and Testing
Step 9: Reinstall the Serpentine Belt
Reinstall the serpentine belt by following the same routing you observed when you removed it. Use the wrench to apply tension to the tensioner pulley and secure the belt in place.
Step 10: Refill the Coolant and Check for Leaks
Once everything is reassembled, refill the radiator with fresh coolant. Start the engine and allow it to run for a few minutes, checking for any signs of leaks around the water pump area. Monitor the coolant levels and top off as needed.
Step 11: Reconnect the Battery
Finally, reconnect the battery and check the operation of your car’s cooling system. Make sure the temperature gauge remains stable and that the engine doesn’t overheat. This will confirm that you’ve successfully learned how to replace a water pump on a car.
Conclusion
Now that you know how to replace a water pump on a car, you can save money on costly repairs and improve your vehicle’s performance. While the process may seem challenging, with the right tools and preparation, it can be a rewarding DIY project. Be sure to follow each step carefully, and you’ll have your car running smoothly again in no time.
Related Post:
If you’re also looking to improve your car’s cooling system, you might find our guide on how to flush a car radiator helpful.

Leave a Reply