Are you wondering how to install a car stereo system? Upgrading your car’s audio setup can dramatically improve your driving experience, and the process is easier than you might think. In this guide, we’ll walk you through the tools, steps, and tips for successfully installing a car stereo system.
Table of Contents
Tools You’ll Need to Install a Car Stereo System
Before diving into how to install a car stereo system, gather the following tools:
- Flathead and Phillips screwdrivers
- Wire stripper and crimping tool
- Electrical tape
- Panel removal tool
- Socket wrench set
- Wiring harness adapter (specific to your car make and model)
- Soldering iron (optional)
Having the right tools is crucial for ensuring a smooth installation process.
Step 1: Prepare Your Vehicle
The first step in how to install a car stereo system is preparation. Disconnect the car battery to avoid any electrical shorts. This safety measure is essential whenever you’re working with your vehicle’s electrical system.
Next, use the panel removal tool to carefully remove the dashboard trim and access the factory stereo. This step will vary depending on your car model, so consult your vehicle’s manual for specifics.
Step 2: Remove the Factory Stereo
Now that the dashboard is open, unscrew and disconnect the factory stereo. Remember to carefully unplug the wiring harness and antenna cable. Understanding this step is vital when learning how to install a car stereo system, as it ensures you don’t damage the factory wiring.
Step 3: Connect the Wiring Harness
When discussing how to install a car stereo system, the wiring harness is a crucial component. Match the wires from your new stereo to the adapter harness. Most aftermarket stereos use standard color-coded wires, making this process easier.
For a secure connection, use crimp connectors or solder the wires together. Cover the connections with electrical tape to prevent shorts.
Step 4: Mount the New Stereo
The next step in how to install a car stereo system is mounting the new stereo into the dashboard. Slide the stereo into the mounting bracket or sleeve, then secure it with screws.
Connect the wiring harness and antenna cable to the back of the new stereo. Test the stereo to ensure it powers on and plays audio correctly before reassembling the dashboard.
Step 5: Reassemble the Dashboard
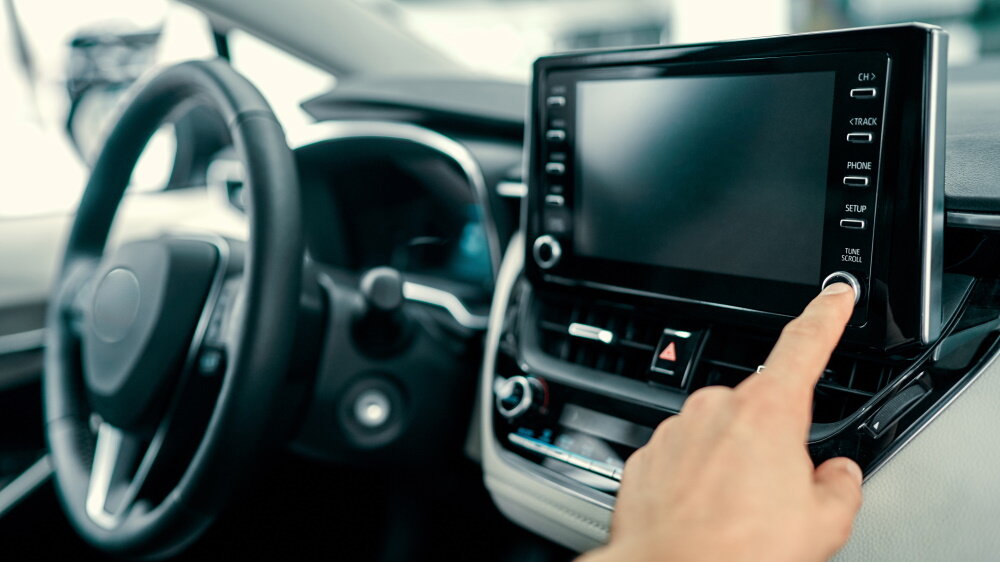
Once your new stereo is functioning, reattach the dashboard trim. Double-check that all screws and clips are secure. Reconnect the car battery to complete the process of how to install a car stereo system.
Tips for a Smooth Installation
- Label Wires: Labeling the wires during disconnection can save time when reconnecting them.
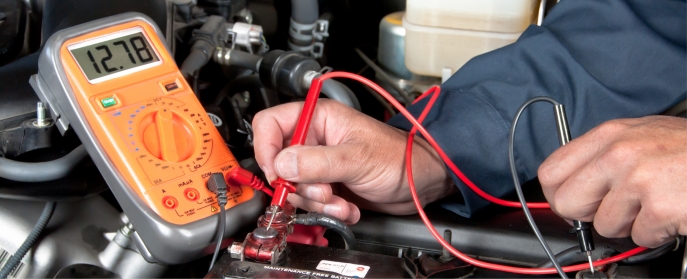
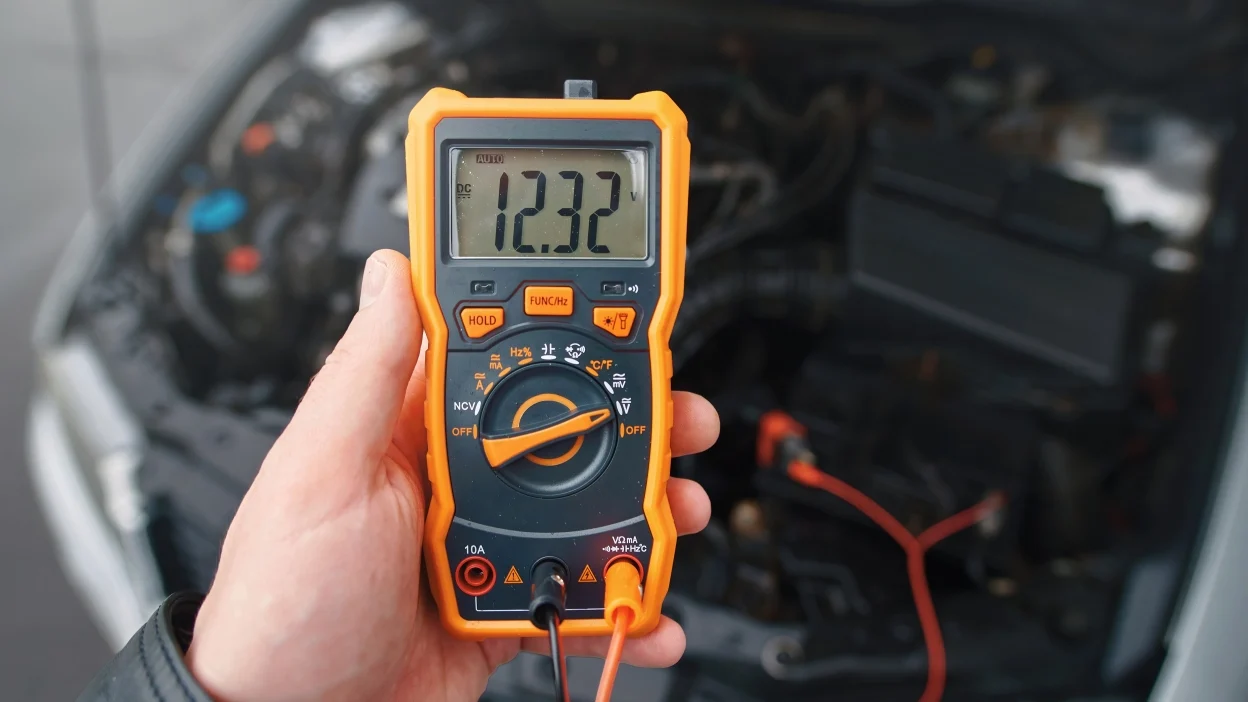
- Use a Multimeter: A multimeter can help identify power, ground, and speaker wires if the factory wiring is not color-coded.
- Check Compatibility: Ensure your new stereo is compatible with your car’s make and model to avoid installation issues.
Common Mistakes to Avoid
When learning how to install a car stereo system, avoid these pitfalls:
- Not disconnecting the car battery.
- Failing to secure wires properly, which can lead to audio issues or short circuits.
- Ignoring the car’s manual, which often provides model-specific tips.
Why Upgrade Your Car Stereo?
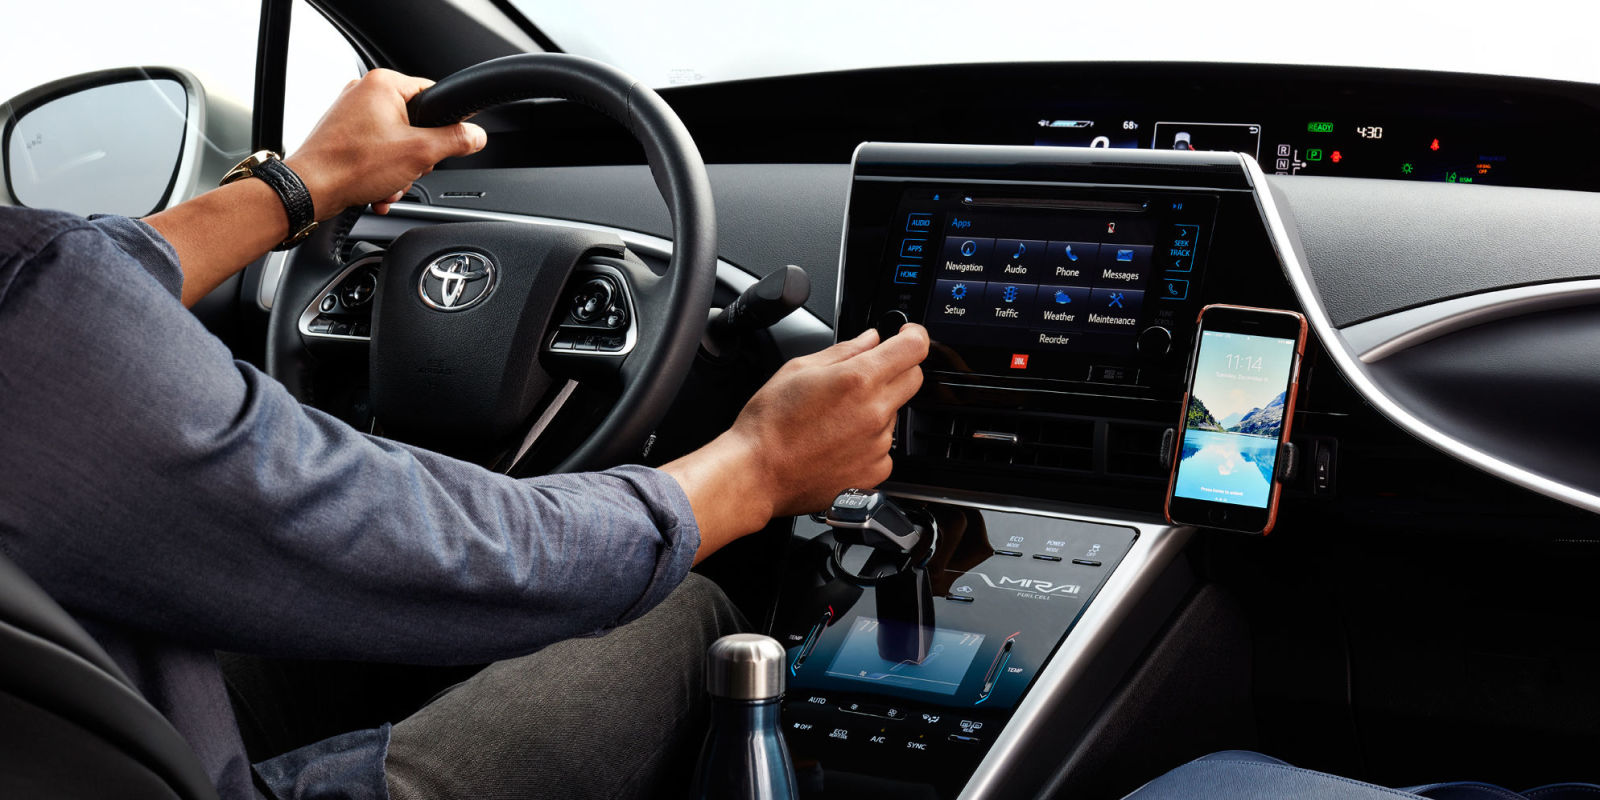
Knowing how to install a car stereo system can save you money and give you a customized audio experience. Upgrading allows you to enjoy better sound quality, Bluetooth connectivity, and modern features like smartphone integration.
Conclusion
Now that you know how to install a car stereo system, you’re ready to tackle this project with confidence. Whether you’re upgrading for better sound quality or modern features, the satisfaction of completing the installation yourself is unmatched.
For more tips and automotive DIY guides, stay tuned to our blog. Happy installing!
Related Post:
If you’re also looking to enhance your car’s sound system, check out our guide on How to Install Car Speakers the Easy Way for a step-by-step tutorial on upgrading your car’s audio experience.

Leave a Reply