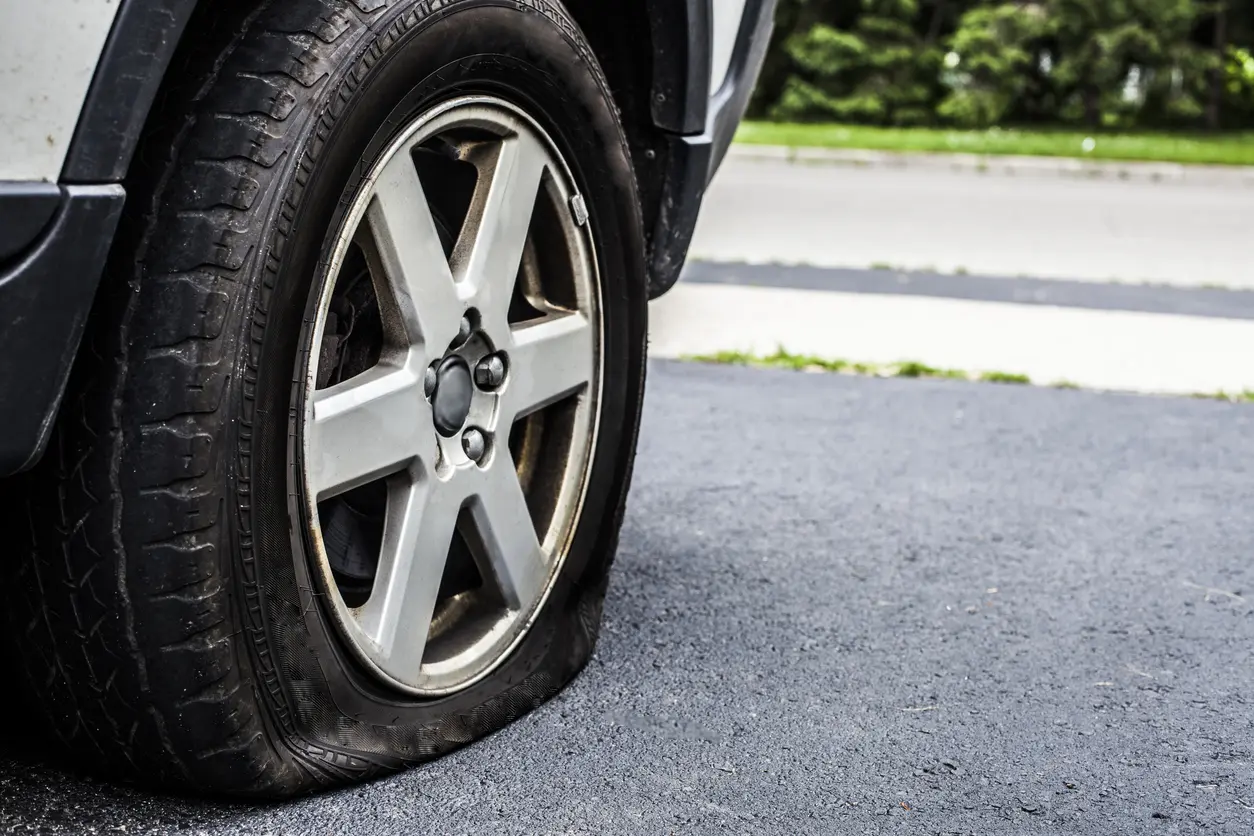
A flat tire can happen at any time, but knowing how to fix a flat tire can save you time, money, and the stress of waiting for roadside assistance. Whether you’re stuck on the side of the road or in your driveway, learning how to fix a flat tire is an essential skill every driver should have. In this guide, we’ll walk you through the steps you need to take to get back on the road quickly and safely.
Table of Contents
Why It’s Important to Know How to Fix a Flat Tire
Knowing how to fix a flat tire is not only useful in emergencies, but it also gives you confidence when driving. Instead of relying on others, you can handle the situation on your own, often in less time than it takes for a tow truck or mechanic to arrive. Additionally, how to fix a flat tire can help you save money, as tire repair kits and spare tires are often cheaper than paying for a service.
What You’ll Need to Fix a Flat Tire
Before you start, it’s important to gather all the tools you’ll need to fix a flat tire. Here’s a checklist of items required to perform a successful repair:
- A spare tire (or tire repair kit)
- A jack
- A lug wrench
- A tire pressure gauge
- A flashlight (if it’s dark)
- A wheel wedge
- Gloves (optional for hand protection)
Now that you have everything ready, let’s go over how to fix a flat tire in a few simple steps.
Step 1: Ensure Your Safety
The first thing you need to do when learning how to fix a flat tire is to make sure you’re safe. Move your car to a flat, stable surface away from traffic. Turn on your hazard lights and place wheel wedges behind the wheels to prevent the car from rolling.
Step 2: Remove the Flat Tire
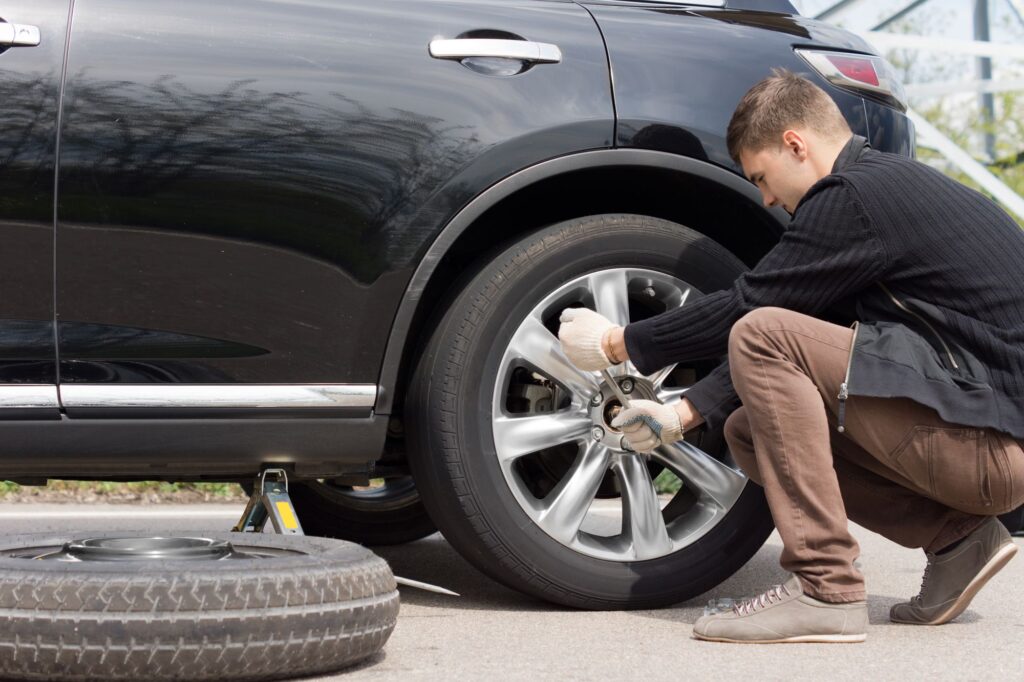
Now, it’s time to remove the flat tire. Using your lug wrench, loosen the lug nuts on the flat tire before jacking up the car. Do not fully remove the lug nuts yet, just loosen them enough so you can easily remove them when the tire is lifted off the ground. Once the lug nuts are loosened, use the jack to raise the car high enough to remove the flat tire.
Step 3: Install the Spare Tire
Once the flat tire is removed, carefully place the spare tire onto the wheel hub. Align the holes of the tire with the lugs and push the tire into place. Begin tightening the lug nuts by hand to secure the tire in place.
Step 4: Lower the Car and Tighten the Lug Nuts
Next, lower the car back to the ground slowly using the jack. Once the car is stable, fully tighten the lug nuts in a criss-cross pattern to ensure even pressure. Use the lug wrench to make sure the nuts are securely fastened.
Step 5: Check the Tire Pressure
Before you get back on the road, it’s essential to check the pressure of the spare tire. Use a tire pressure gauge to ensure the tire is inflated to the correct level. If the spare tire isn’t properly inflated, it could cause handling issues or even another flat.
Step 6: Dispose of the Flat Tire
After successfully fixing the flat, make sure to store your flat tire in your car to have it repaired later. Proper disposal of the tire will prevent clutter and keep your vehicle in good condition.

How to Fix a Flat Tire: Tips for Future Prevention
Knowing how to fix a flat tire is an invaluable skill, but it’s also important to take steps to prevent flats in the first place. Regularly check your tire pressure, avoid potholes, and replace tires that are showing signs of wear to minimize the risk of a flat. Carrying a tire repair kit can also help you handle smaller punctures without needing to change the entire tire.
Conclusion
Learning how to fix a flat tire is a skill that can come in handy in many situations. By following these simple steps, you can be back on the road in no time, whether you’re dealing with a flat on a road trip or in your own driveway. Keep your tools in your vehicle and be prepared, so you’re never left stranded without a solution. Knowing how to fix a flat tire means more control and peace of mind when driving.
Related Post:
If you’re interested in more car maintenance tips, check out our guide on How to check tire pressure in 6 easy steps.


Leave a Reply