Maintaining your car’s cooling system is crucial for its performance and longevity. One of the simplest yet essential tasks is learning how to flush a car radiator. Over time, dirt, rust, and debris can build up in the radiator, reducing its efficiency and potentially causing engine overheating. This guide will walk you through the steps to properly flush your car radiator and keep your engine running smoothly.
Table of Contents
Why You Should Know How to Flush a Car Radiator
Flushing your car radiator is not just about cleanliness—it’s about preventing costly repairs. By understanding how to flush a car radiator, you can:
- Remove accumulated rust and sediment.
- Improve the efficiency of your cooling system.
- Extend the life of your radiator and engine.
- Avoid overheating issues during extreme temperatures.
Signs It’s Time to Flush Your Car Radiator
Before diving into how to flush a car radiator, you need to recognize when it’s necessary. Look out for these signs:
- Overheating engine.
- Rusty or discolored coolant.
- Frequent coolant leaks.
- Unusual engine noises.
If you notice any of these symptoms, it’s a clear indicator that you need to learn how to flush a car radiator ASAP.
Tools You’ll Need to Flush a Car Radiator
Before starting, gather these tools to ensure a smooth process:
- A radiator flush solution.
- Distilled water.
- A bucket or drain pan.
- A funnel.
- Safety gloves and goggles.
Having the right tools will make the steps for how to flush a car radiator much easier and safer.
Step-by-Step Guide on How to Flush a Car Radiator
Step 1: Prepare Your Vehicle
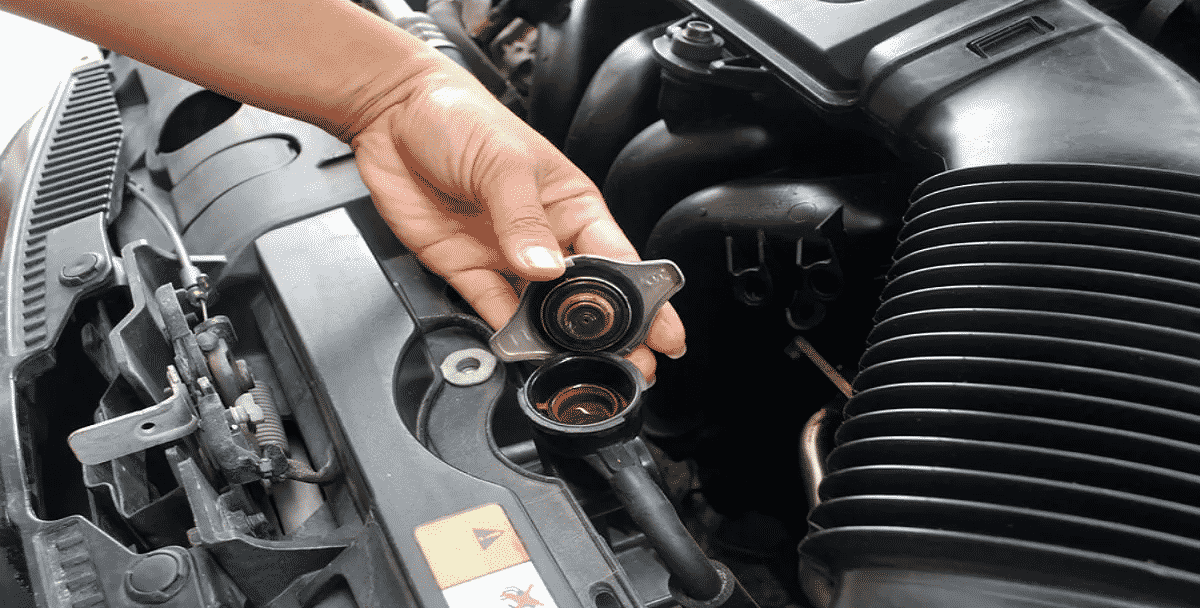
Park your car on a level surface and let the engine cool completely. Never work on a hot radiator—it’s dangerous and could cause severe burns.
Step 2: Drain the Old Coolant
Locate the radiator drain plug, usually at the bottom of the radiator. Place a bucket beneath it and unscrew the plug to drain the old coolant. This is the first key step in learning how to flush a car radiator properly.
Step 3: Flush with Water
Close the drain plug and fill the radiator with distilled water. Turn on the engine and let it run for about 10 minutes. This process helps to remove residual coolant and debris.
Step 4: Add Radiator Flush Solution
Pour the radiator flush solution into the radiator, following the product instructions. This step is crucial in understanding how to flush a car radiator thoroughly.
Step 5: Flush Again
Drain the radiator once more to remove the solution, dirt, and contaminants. Rinse with distilled water to ensure a clean system.
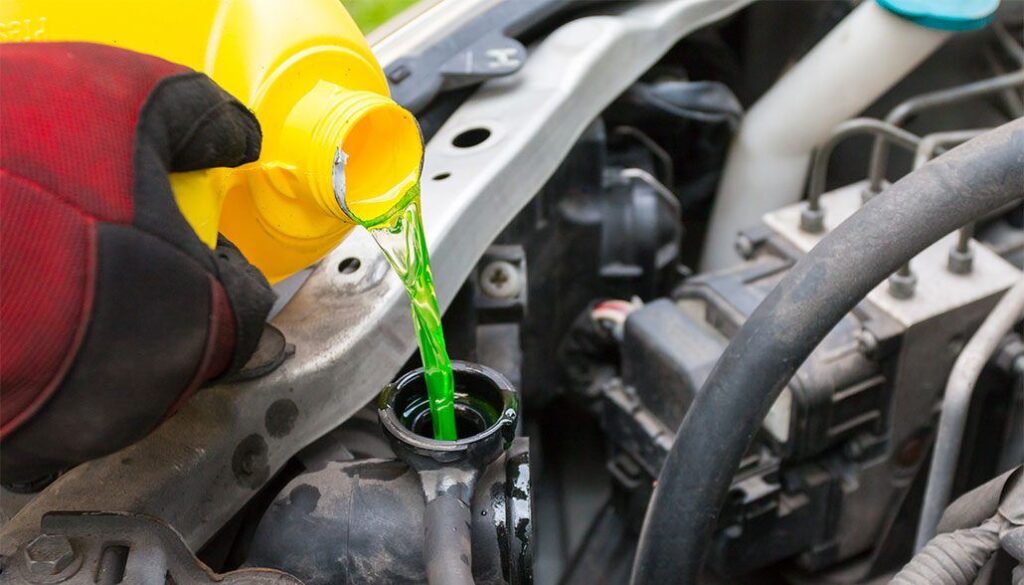
Step 6: Refill with Coolant
Finally, refill the radiator with the appropriate mix of coolant and distilled water. Start the engine and check for any leaks.
How Often Should You Flush a Car Radiator?
Knowing how to flush a car radiator is important, but understanding when to do it is equally vital. Experts recommend flushing your radiator every 30,000 miles or every two years, whichever comes first. However, always check your vehicle’s manual for specific recommendations.
Common Mistakes to Avoid When Flushing a Car Radiator
While learning how to flush a car radiator, avoid these common errors:
- Using tap water instead of distilled water, which can cause mineral buildup.
- Forgetting to let the engine cool before starting.
- Not properly tightening the drain plug after flushing.
Final Thoughts on How to Flush a Car Radiator
By following these steps on how to flush a car radiator, you can ensure your vehicle’s cooling system remains in top condition. Regular maintenance saves you from costly repairs and keeps your engine running efficiently. Don’t overlook the importance of this simple yet impactful task.
Related Posts:
If you’re taking care of your car’s radiator, you may also find these helpful:
How to Tell If a Car Radiator Needs Replacing – Discover the signs that indicate it’s time to replace your car’s radiator for optimal performance.
How to Fix a Leaky Car Radiator – Learn how to identify and repair leaks in your car’s radiator to prevent overheating.

Leave a Reply