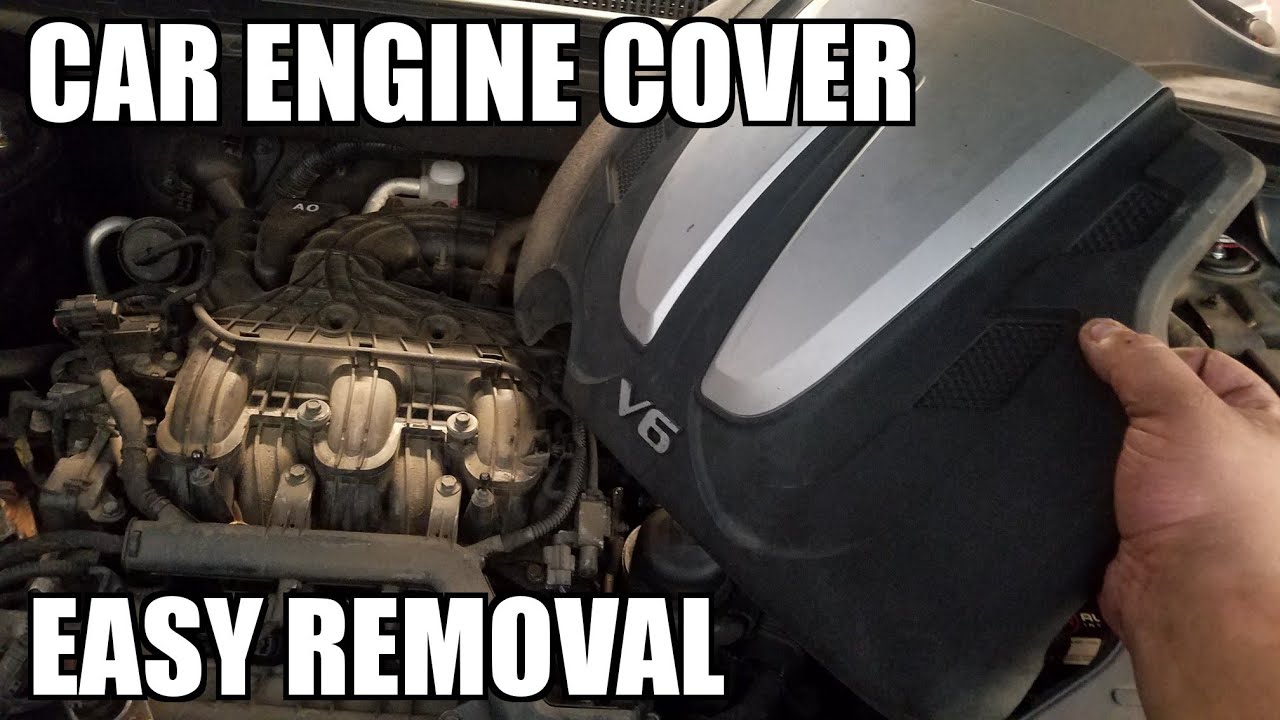
To remove a plastic engine cover, usually you unclip or unscrew fasteners and lift off the cover. Ensure the engine is cool and locate any bolts or clips securing the cover.
Maintaining your vehicle involves familiarizing yourself with its components, including the decorative yet functional plastic engine cover. This sleek shroud not only enhances the aesthetics under the hood but also serves to shield engine parts from debris and dampen noise.
Tasked with this dual purpose, engine covers can be a source of curiosity for home mechanics and automobile enthusiasts alike. Removing this cover is often a simple task, one that grants access to the engine for routine inspections, maintenance, or performance upgrades.
Knowing the proper technique to safely and efficiently detach this piece is essential for performing a variety of car maintenance tasks, from the simple act of checking your oil to more complex engine work.
How To Remove Plastic Engine Cover
Removing a plastic engine cover is a simple task that typically involves locating and disengaging retention clips or screws that hold the cover in place. Gently lift the cover after unfastening these components to access the engine components beneath.
Why Removing The Plastic Engine Cover Is Necessary
- Conducting routine or in-depth inspections of engine components
- Accessing the engine for repairs or maintenance like oil changes and spark plug replacements
- Upgrading or replacing engine parts
- Improving engine cooling in some specific performance-driven situations
Steps to Remove the Cover
Now that we understand why one might need to remove the engine cover, let’s look at a simple step-by-step guide to accomplishing this task safely.
- Locate all the fastening points that secure the cover to the engine. These could be bolts, clips, or screws.
- Using the appropriate tools, such as a ratchet or screwdriver, carefully loosen and remove the fasteners.
- Lift the cover off gently, making sure you’ve checked for any additional retaining clips that may be hidden.
- Store the fasteners and the cover in a safe place to prevent damage or loss.
Tools And Materials
To remove a plastic engine cover, you’ll need basic hand tools such as a socket set and screwdriver. Gentle handling is key as these covers are often held by clips or screws that can be fragile.
Excellent SEO optimization requires a focus on user intent and relevant content. In this snippet to remove a plastic engine cover, I’ve used key terms that potential readers might use when searching for guidance on this topic.
List of tools and materials required for the job.
- Screwdriver
- Gloves
- Safety Goggles
- Towel
- Marker
Table summarizing the tools and materials needed.
| Tool/Material | Description | Purpose |
|---|---|---|
| Screwdriver | Flathead and Phillips head | Unfastening Screws/Bolts |
| Gloves | Work gloves | Hand Protection |
| Safety goggles | Eye Protection | Protect Eyes from Debris |
| Towel | Clean Towel | Cleaning and Protection |
| Marker | Permanent Marker | Labeling Parts |
Step-by-step Guide
Removing the plastic cover from your engine may seem daunting, but with the right tools and a little confidence, it’s a straightforward procedure. Whether you’re looking to perform routine maintenance or simply want to admire the mechanical marvel beneath, this guide will walk you through each step with ease. Let’s roll up our sleeves and get started!
- Preparing The Engine
- Locating The Fasteners
- Removing The Fasteners
| Type of Fastener | Recommended Tool |
|---|---|
| Screws | Screwdriver |
| Bolts | Ratchet and Socket |
| Clips | Trim Removal Tool |
- Lifting Off The Cover
- Handling The Cover Safely
Safety Considerations
When undertaking the removal of a plastic engine cover, it’s vital to prioritize safety
to prevent damage to your vehicle and yourself. The engine compartment houses many sensitive
components, and appropriate safeguards should be in place during the process. These safety
measures are not just about protecting yourself; they’re also about ensuring the longevity
and proper functioning of your vehicle. Let’s delve into the crucial safety considerations.
- Protecting Engine Components
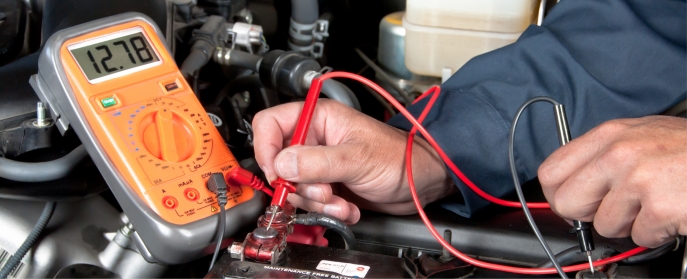
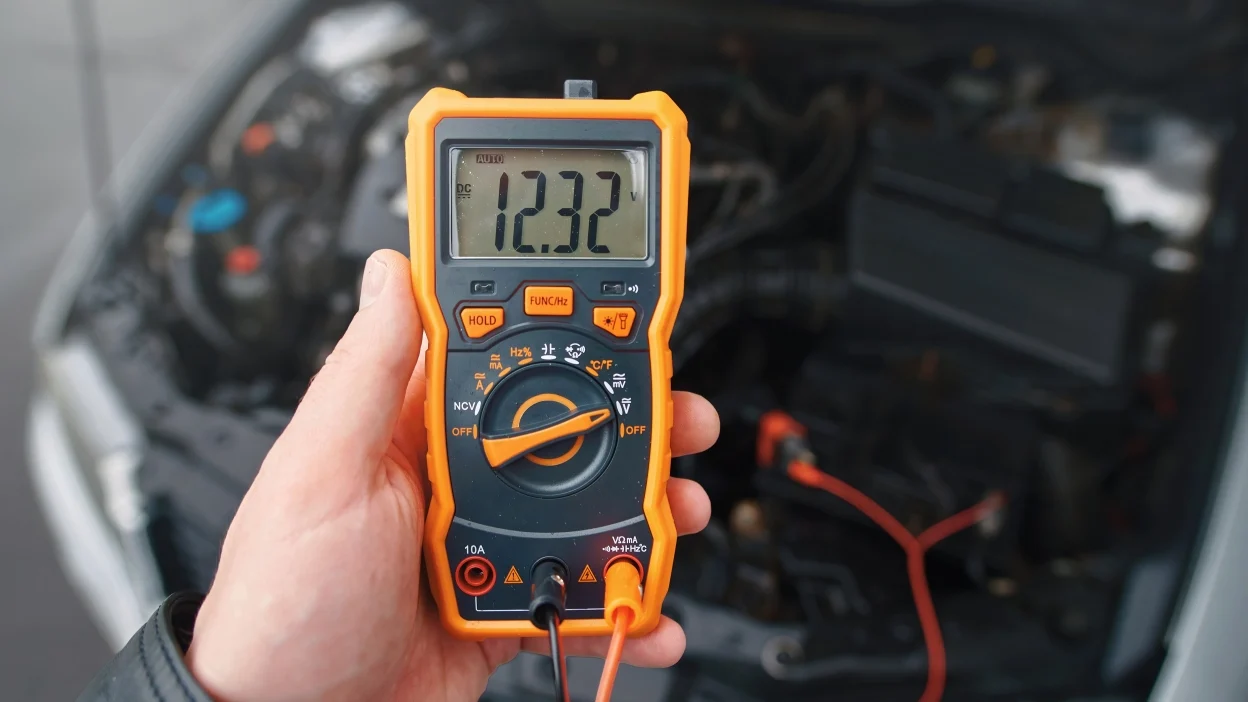
- Avoiding Electrocution
- Preventing Contamination
- Ensuring Proper Reinstallation

Credit: wrench.com
Frequently Asked Questions
Can I Take The Plastic Cover Off My Engine?
Yes, you can remove the plastic engine cover, but consult your manual first and ensure it won’t affect airflow or component protection. Always replace it properly after maintenance.
How Do You Remove An Engine Front Cover?
To remove an engine front cover, first disconnect the battery. Then, remove any necessary components blocking access. Unbolt the cover with the appropriate tools, detach any connected wires or hoses, and lift the cover off carefully.
Can You Drive Without Plastic Engine Cover?
Yes, you can drive without a plastic engine cover, but it may expose sensitive parts to debris and potential damage.
Does Removing Engine Cover Improve Cooling?
Removing the engine cover does not significantly improve cooling, as it is designed to optimize airflow and protect engine components.

Leave a Reply